There are reasons why the orchid is seen as one of the most gorgeous flowers on the planet. Apart from its delicate grace and unique symmetry, which is a stunning addition to indoor décor and any garden, it is also a very hardy plant that needs low care.
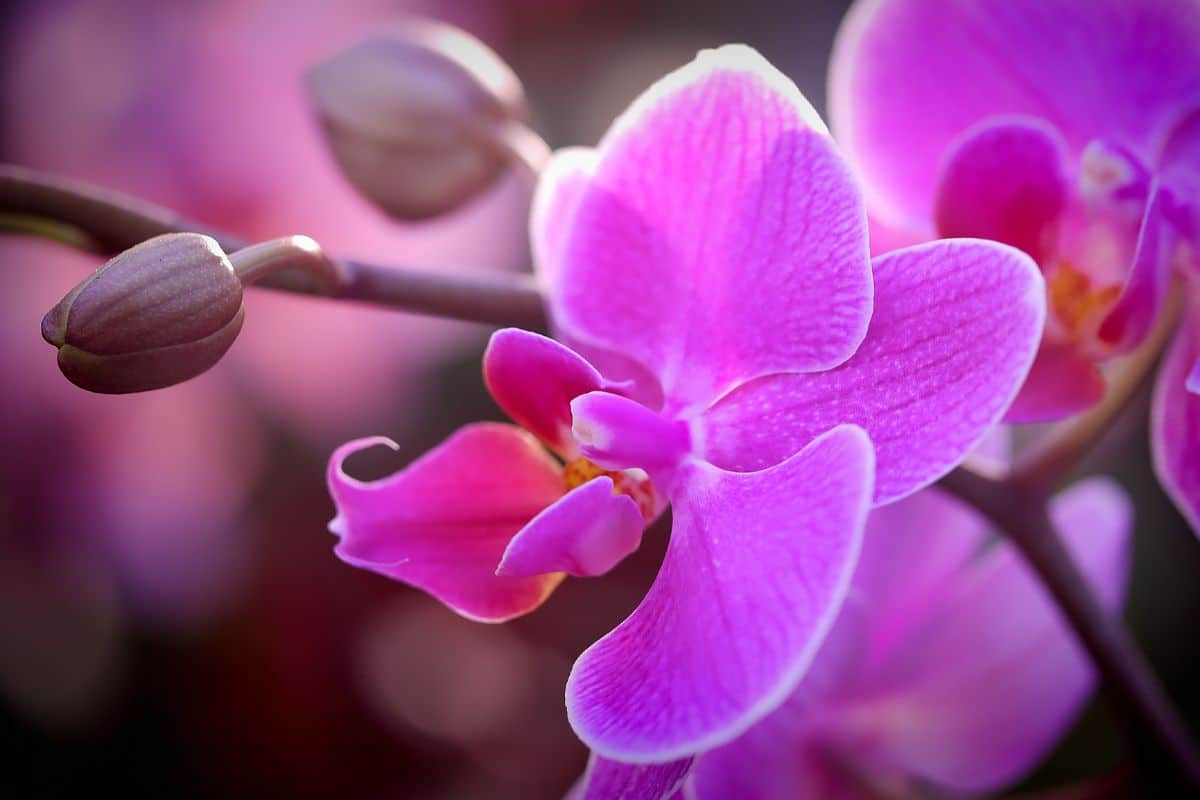
You can expect the best result if you give the orchid the correct water quantity, adequate oxygen, light, humidity, and feeding.
However, despite the optimism that comes with orchids, some novice gardeners often make mistakes when growing them, leading to several problems. But they are not without a solution.
In this article, we'd highlight the most common orchid growing mistakes and common problems with how to fix them.
Let’s get started!
Jump to:
- Common Orchid Growing Mistakes & Fixes
- 1. Overwatering
- 2. Underwatering
- 3. Exposing to Too Much Sunlight
- 4. Promoting Low Humidity
- 5. Growing Orchids in Wrong Potting Materials
- 6. Adding Too Many Nutrients
- 7. Choosing the Wrong Orchid Type
- 8. Misting the Flowers & Transplanting Orchids While Blooming
- Common Orchid Growing Problems & Fixes
- 1. Orchid Leaves Changing Color
- 2. Dropping of Leaves
- 3. Crown Root Rot
- 4. Roots Rot
- 5. Orchid Buds Drying Up
- 6. Wilting & Drooping of Orchid Leaves
- Conclusion
Common Orchid Growing Mistakes & Fixes
1. Overwatering
This mistake comes first on our list because it is the most common mistake many novice gardeners make. Overwatering orchid plants will not make them grow any better but depreciate or die because, unlike some other houseplants, you can't grow them in garden soil.
In other words, their watering requirements also differ. Many beginners are so overenthusiastic in offering their orchids care and, as a result, end up watering excessively.
Even though they are tropical plants, do not water orchids as much as you do other houseplants to avoid root rot and fungal infections.
Fixes
- The best way to avoid this mistake is to avoid watering orchids daily and water only if the soil feels dry.
- The best watering time for orchids is in the early hours of a new day.
- Place your orchid vase in a sink and run the tepid over the moss or whatever orchid growing medium you are adopting to keep it moist; do not allow the running water to damage its foliage or blooms.
- Or put the pot in a bowl and fill the bowl with water to enable the orchid mix to absorb enough water.
- The fastest means is to pour water out of a watering can.
- How often you water your orchid depends on the climate, but ensure you do it once a week if you're growing the plant indoors.
2. Underwatering
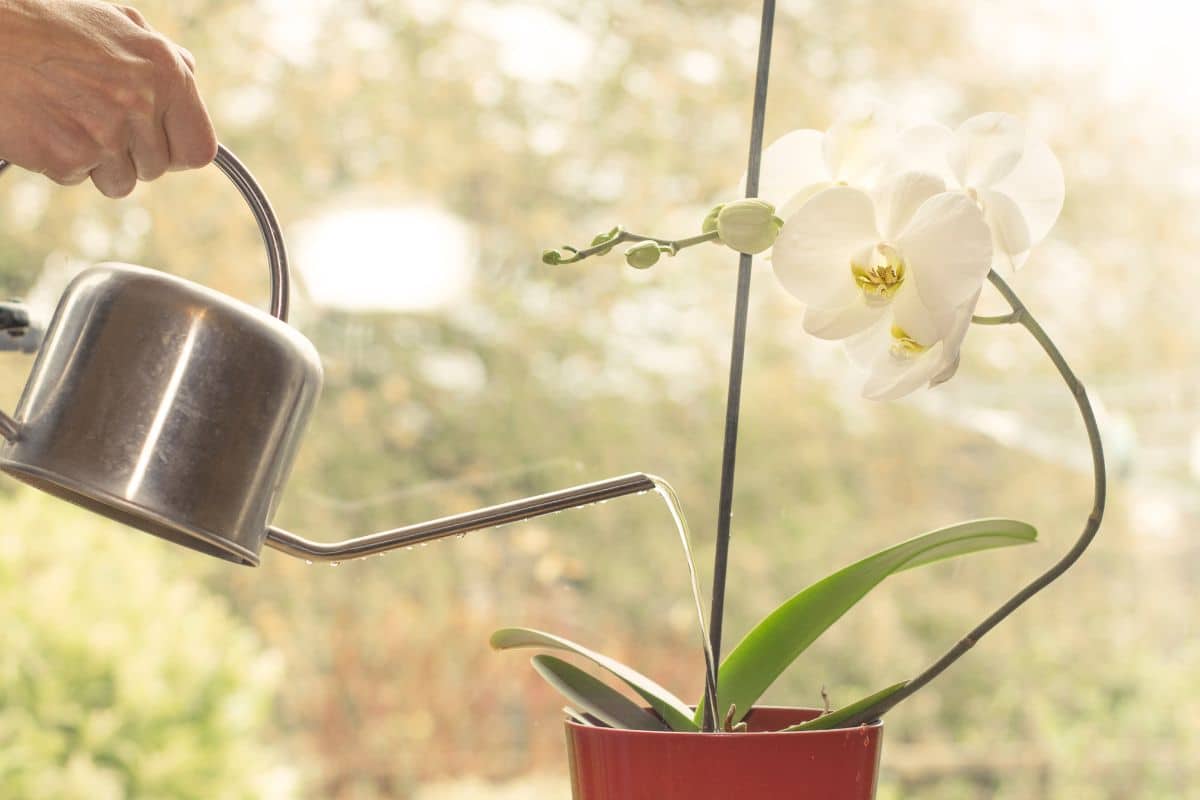
It's pretty simple!!! Just because orchids do not appreciate overwatering doesn't mean they like to be underwatered.
Yes, we advise you not to overwater your plants, but you can also avoid underwatering them. It explains why watering is the trickiest part of any plant's care. In other words, do not underwater your orchid plant to prevent it from losing blooms.
Fixes
- Don't keep your orchid excessively dry to avoid shriveled, grey roots and loss of flowers.
- It would be best to plan a watering schedule to ensure your orchid gets enough water; at least a quarter of a cup in each session will do.
3. Exposing to Too Much Sunlight
Novice gardeners often mistake leaving their orchid plants in too much sunlight or other lighting conditions. Orchids do best under indirect sunlight, so positioning them away from bright, direct sunlight is another good way to keep them healthy.
Fixes
- Once you notice that the leaves of your orchid are not as healthy as they once looked initially, take them away from where it is to a north or west-facing window.
- If your orchid has started developing yellow spots and yellowing leaves, it is a sign that you must move the plant elsewhere, where exposure to sunlight or other lighting means is minimal.
4. Promoting Low Humidity
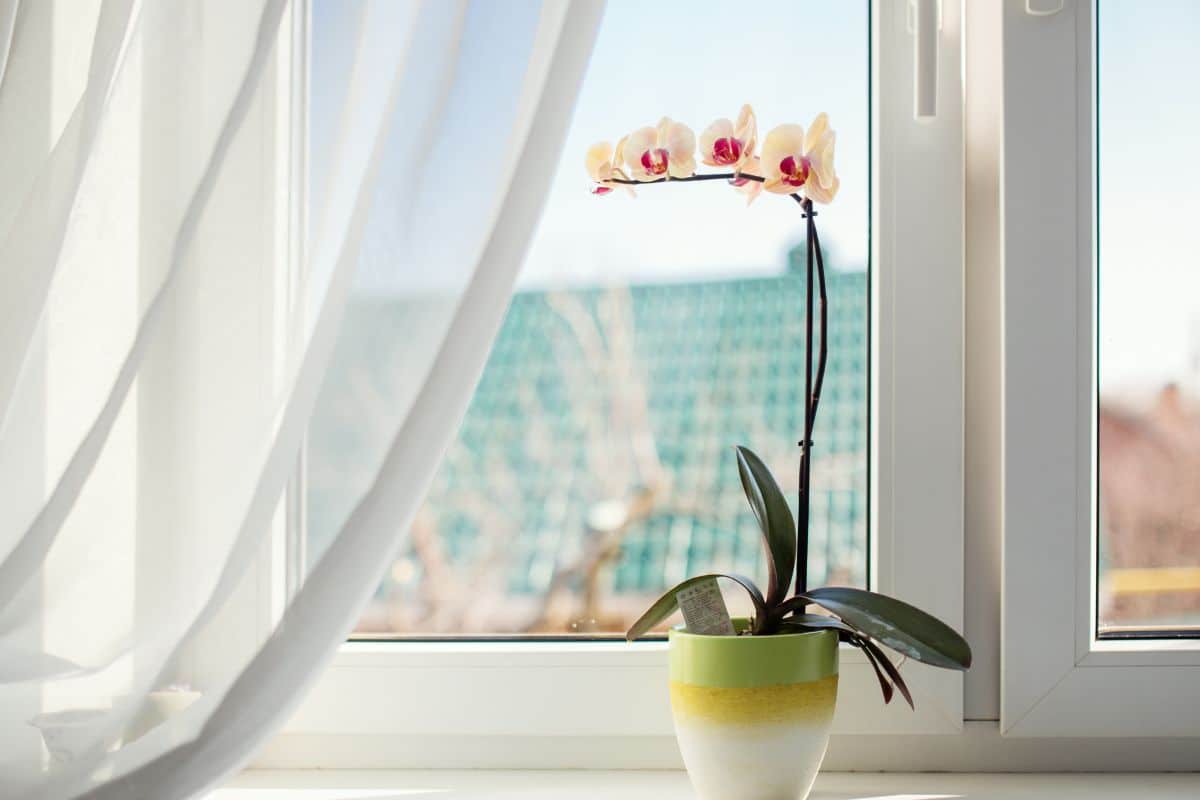
The climate you live in determines how you grow your orchid plant. So, do not make the mistake of thinking that orchids demand the same growing conditions everywhere.
For instance, if you live in a cool climate, you mustn't place your plant close to a window so it won't catch cold air drafts.
Fixes
- If your area has low humidity, endeavor to give your orchids artificial humidity by misting them from time to time or keeping a humidity tray under their pots, ensuring their humidity levels stay between 55% and 75%.
- For dry regions or climates, you can use a dehumidifier or crank up the heat during the winter season, as it will help dehydrate your orchid.
- Keep orchids where they will be safe from cold temperatures, and do not expose orchids to sudden temperature changes, be they high or low.
5. Growing Orchids in Wrong Potting Materials
Another common orchid growing mistake many novice gardeners make is growing orchids in soils. It is hazardous and can kill the plant. Don't forget that orchid growing materials are not the same as that of houseplants.
Allow them to drain quickly and enhance good air circulation at the roots. Most orchid species like phalaenopsis grow on trees in their natural habitat, so you mustn't grow them in soil.
Fixes
- Choose the right potting mix for your orchids, with the best potting mediums being tree bark, cork, or coconut shreds, which enhance enough airflow around the roots.
- You can also utilize different materials like bark chips, sphagnum moss, coconut husks, and Styrofoam for replacing potting mix.
6. Adding Too Many Nutrients
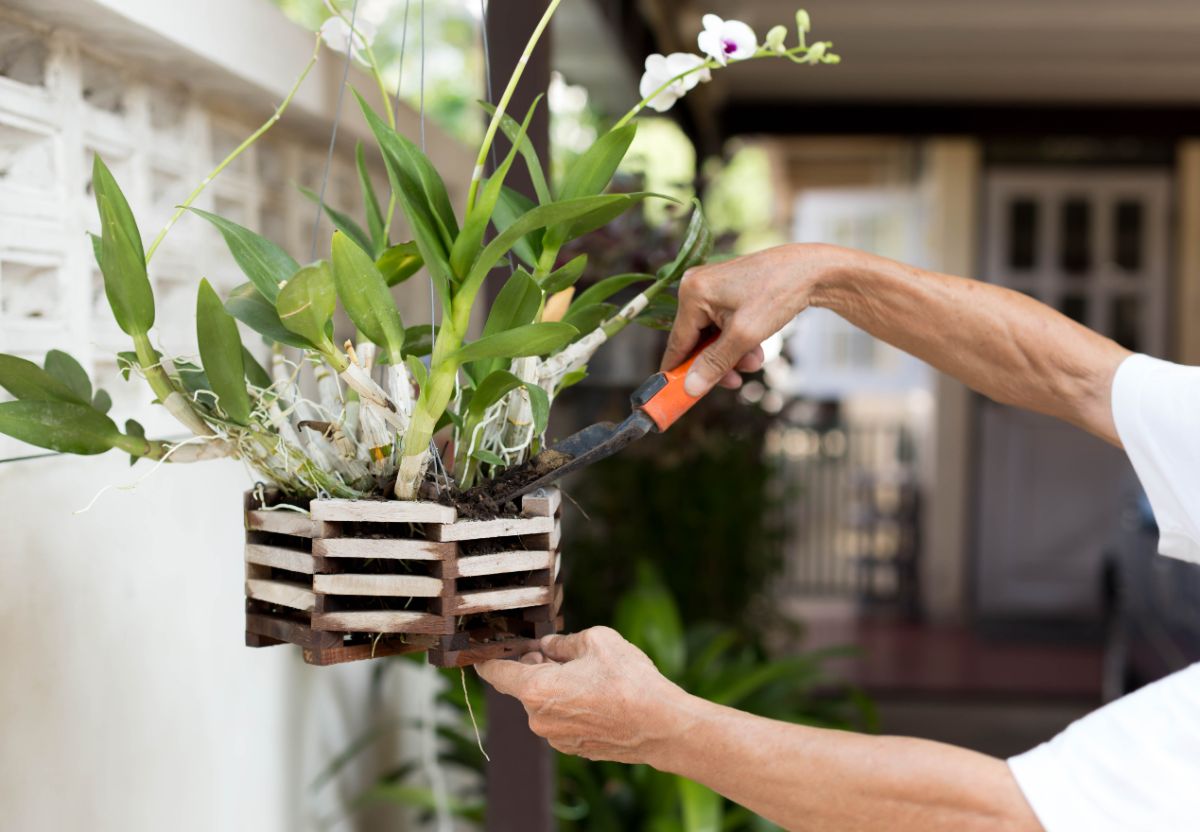
Overfertilizing plants does not necessarily yield more blooms or hasten their growth; instead, the reverse seems to be the case.
The same goes with orchids, as many novice gardeners think they will bloom more by applying more fertilizer. Excessive nutrients can burn their sensitive roots.
Fixes
- Fertilize your orchid at most once or twice every month in a half or one-quarter strength. In other words, just half of the recommended dose on the fertilizer packet.
- Go for fertilizer containing the exact amounts of nitrogen, phosphorus, and potassium, such as 10-10-10 or 20-20-20, and other essential micronutrients.
- It will also help if you feed with 10-10-10 fertilizer in half strength and 20-20-20 fertilizer in one-quarter strength.
- Again, the best time to feed your orchids is in the growing season. For those in cold regions, don't fertilize in winter, wait for the spring, and anytime you see the symptoms of active growth, it's time to feed.
7. Choosing the Wrong Orchid Type
Novice gardeners make the mistake of picking orchid plants randomly, thus neglecting the necessary environmental conditions that it demands.
In other words, you should pick the type perfect for your living environment, as there're wide orchid varieties with different growing needs, so it'll be a lot easier to choose the one that suits your needs.
Fixes
- Too much ice-cold water can make orchids to suffer from exposure to root damage. Therefore, if you're using ice, make sure you use plenty of potting mix between your ice cubes and the roots.
- Let them be if you notice your orchid is producing aerial roots, false or pseudobulbs, or canes. Roots and canes mean healthy growth, whereas pseudobulbs tend to preserve energy and enhance constant flowering and orchid growth.
8. Misting the Flowers & Transplanting Orchids While Blooming
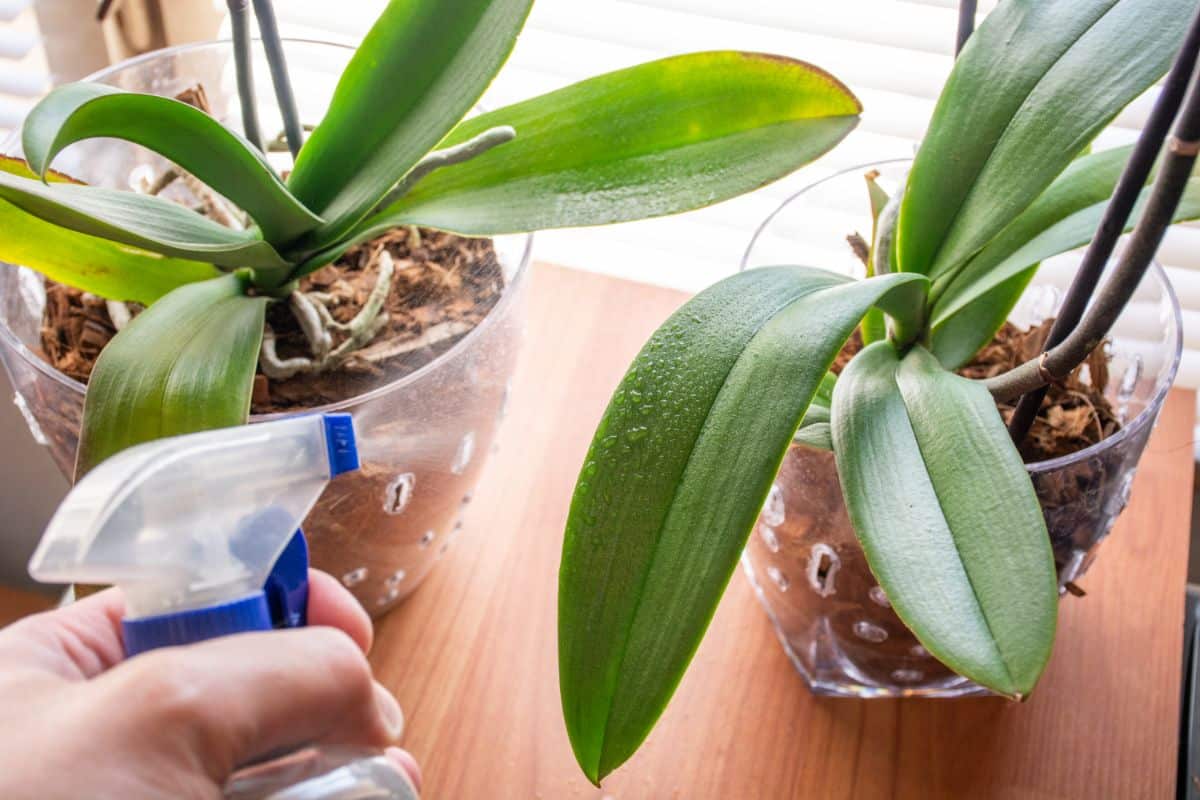
Humidity is suitable for orchids, and it does best in it. But it doesn't mean you should mist its flowers, as it is disastrous and can lead to premature death and even wilting of flowers.
It is another common mistake novice gardeners often make, and it doesn't bode well for the orchid.
Fixes
- If necessary, you can mix the foliage, but avoid spraying water on the blooms. So, placing the pot on a pebble tray filled with water would be best.
- Using a humidifier will also work in the absence of a pebble tray.
- Don't transplant during the blooming time, as it is when the plant has channeled all its energy in flowering. Transplanting at that point may result in untimely death.
Common Orchid Growing Problems & Fixes
1. Orchid Leaves Changing Color
Generally, orchids come with moderately grassy green color leaves; therefore, once they have started changing colors, there's a serious issue that demands immediate attention.
Changing leaves' color may be due to dehydration, overwatering, underwatering, lighting, sunburn, or heat damage.
Fixes
Before you commence treatment, you must discover the problem behind its discoloration. So, below are the solutions for orchid leaves changing color based on the causes;
- For dehydration, water your orchids once every week or anytime you notice the soil is dry.
- You only need to rehydrate if you can't remember the last time you watered your plant.
- Water again immediately after the soil is dry to the touch, water more often during hot weather, and increase humidity through a humidifier or humidity tray to keep them dehydrated.
2. Dropping of Leaves
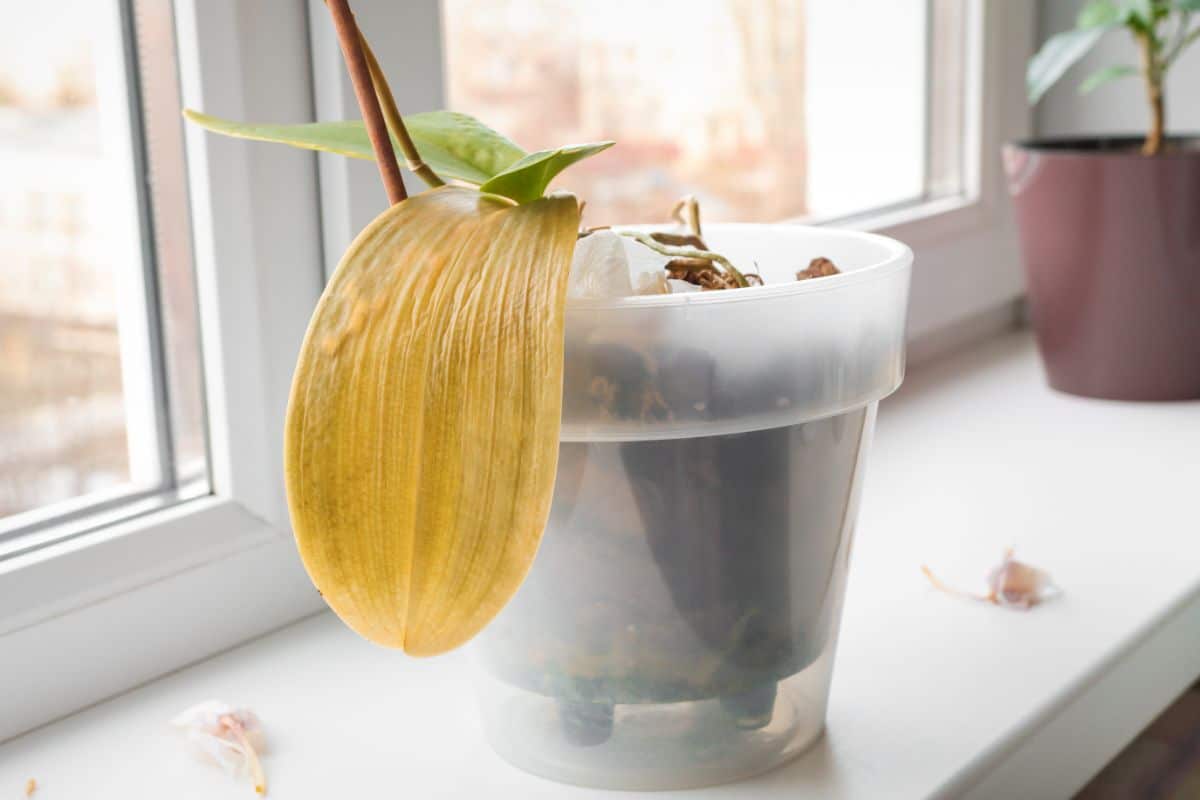
Although, in some cases, dropping leaves shouldn't be a concern as it is only a process the plant is undergoing to replace the old leaves with new ones. But when it's dropping too many leaves, even making the plant almost empty, then it becomes a problem.
But before you commence any treatment, scrutinize the plants' situations to know if the soil is already dried out. Try to know if you had fed them with the wrong fertilizer type or if pathogens are eating out the plant's root and blocking the inner vessels carrying nutrients and moisture to the leaves.
Fixes
- If water problems cause it, find out about the specific water needs of your orchid variety and adjust your watering routine as required. However, several orchids like to be watered a little deeper until it goes out from the drainage holes.
- For fertilizing issues, use liquid fertilizers rather than granular varieties and minimize the fertilizer to a 50% strength. Ensure you add the fertilizer on wet soil so it can dilute the substance and prevent any shock from strong fertilizing.
- If affected by the disease, especially crown root rot, you can apply the necessary measures to prevent or eradicate them. Find out from crown root rot problems below.
3. Crown Root Rot
It is a type of common orchid disease that is very much preventable. Gardeners' carelessness most commonly causes it. The crown root rot is a disease associated with the plant's torso.
In watering, some stray water droplets can drop on the orchid basin where the leaves connect to the crown and become a breeding ground for many pathogens that result in crown rot.
Fixes
- For treatment, apply hydrogen peroxide to the infected area of the plant. Avoid diluting the liquid and only add it in minuscule doses so you won't damage the healthy areas of the crown.
- Repeat the process at least two or three times each day for a week or until the plant recovers.
- For prevention, since water on the crown is the most significant cause of the rot, dry the basin using a sponge or paper towel anytime you water the plant. Dry out any water on the leaves also.
- If you want to water your orchid, endeavor to follow the guidelines from the local nursery. But significantly, only water when the top 1-inch of your soil is dry in spring or summer, and the top 3 inches are dry during the plant's dormant stage in the winter.
4. Roots Rot
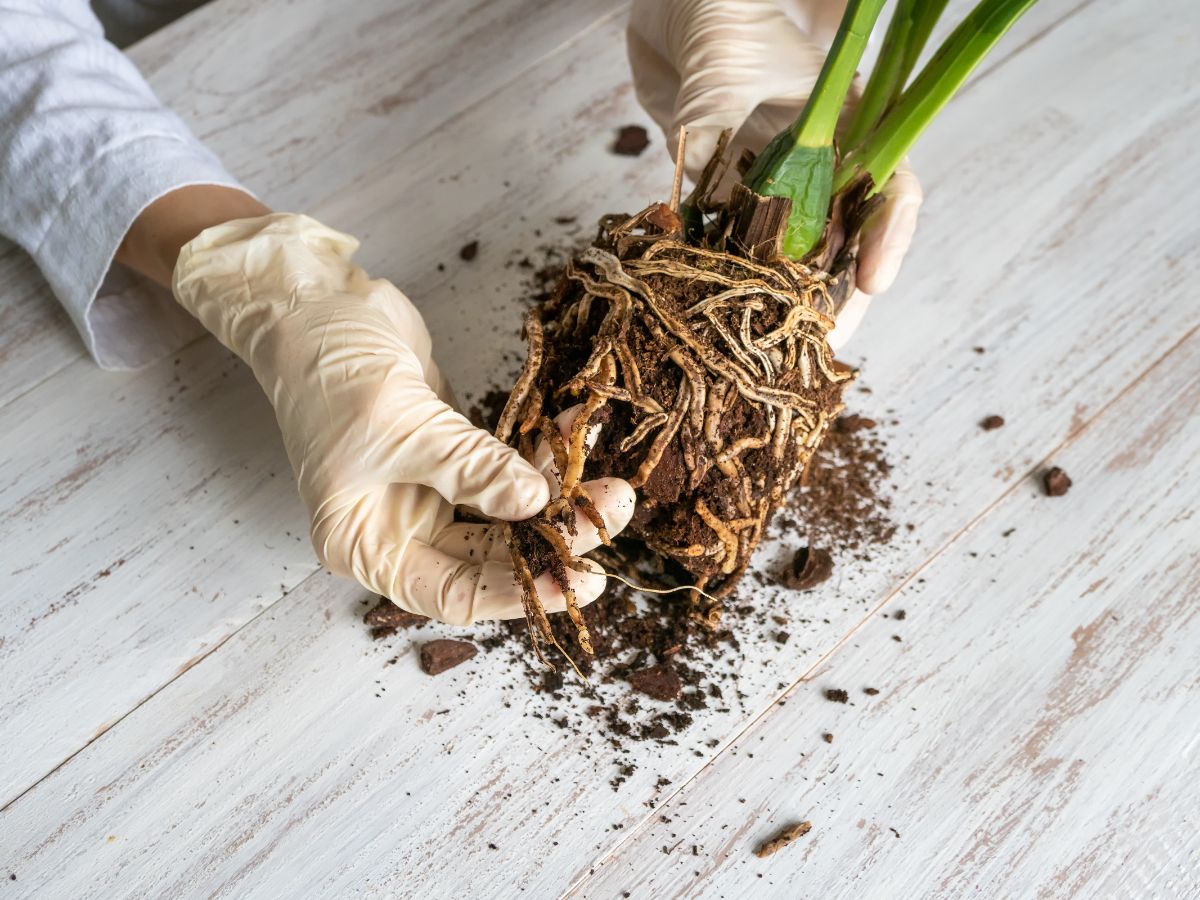
Another common problem with orchids is root rot, most significantly caused by overwatering. If you overwater your plant, it will keep the soil and roots wet.
Continuous moisture destroys the delicate velamen around your orchid's roots and causes root rot. Always check to see if the leaves are turning yellow and growing soft and limp.
Fixes
- Remove the plant from its pot and get rid of the soil.
- Rinse the roots to wipe off any extra wet soil that may still hang around the roots.
- If there's a case of root rot because of too much moisture, get rid of the rotten and dead roots with a sterilized pair of garden shears or scissors, leaving only the healthy and useful ones.
- Then, sprinkle diluted fungicides like Physan 20 on the remaining roots to prevent any fungi or bacteria in the roots from infecting the remaining roots.
- After that, repot your orchid and find fresh recommended soil for it without packing them too tightly. And be careful of overwatering this time to avoid encountering the same root rot issue.
5. Orchid Buds Drying Up
It is an environmental issue if your orchid buds are drying up without any symptoms of pests or disease. In other words, it results from low humidity or a less sunny environment. It could also be caused by wrong watering.
Fixes
- Water your orchids around once a week and allow your soil to dry out before watering again.
- You can drop your home's temperature to around 10 degrees at night to help initiate flower buds.
6. Wilting & Drooping of Orchid Leaves

One of the most significant problems with orchids is wilting and drooping of leaves. It is always a sign of insufficient humidity or underwatering. Since orchids do best in humid areas, moisture is vital for them to thrive.
Fixes
- Increase the humidity levels around your orchids, especially in the winter season (but it depends on your region).
- Humidity levels can be increased with either a humidifier, misting the roots or watering with ice cubes, or placing a humidity tray with stones and water under the pot.
Conclusion
There are so many orchid growing mistakes many novice gardeners make, leading to numerous problems.
But we have highlighted the most common ones, with orchid growing problems, along with their best possible treatment measures to help give your plants better-growing conditions.


