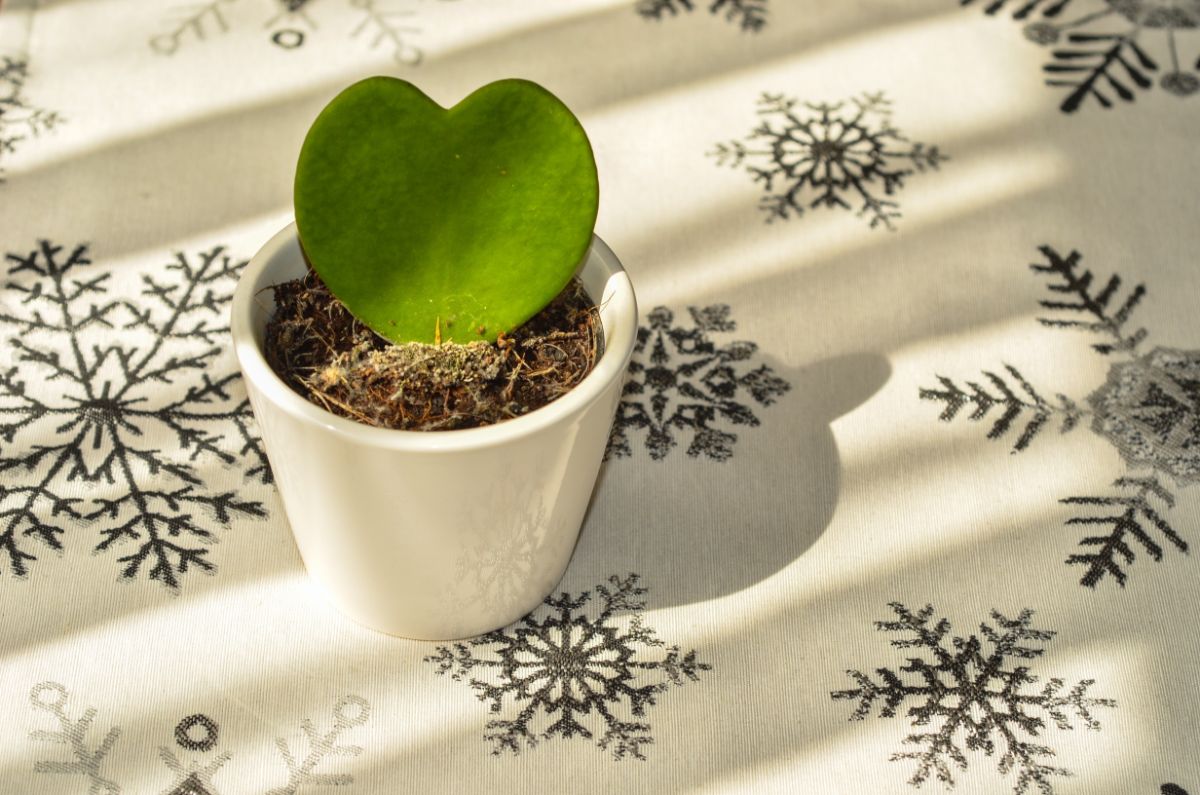
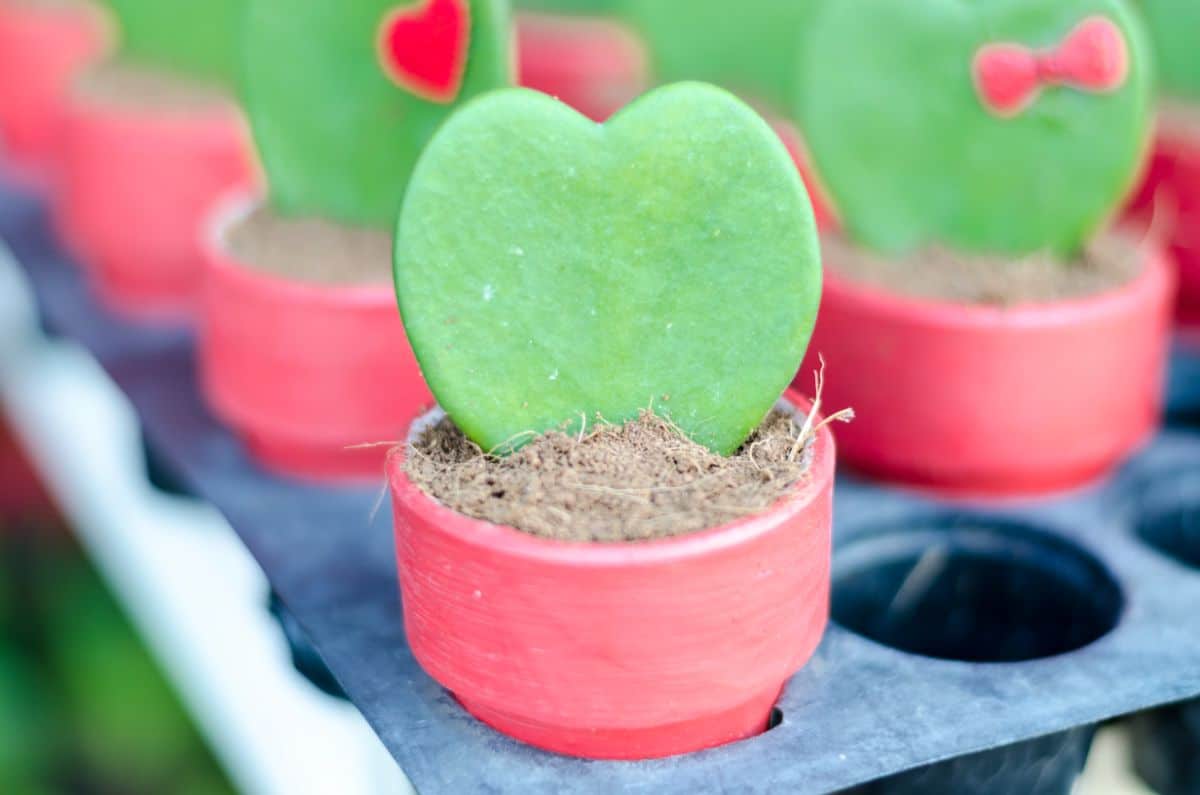
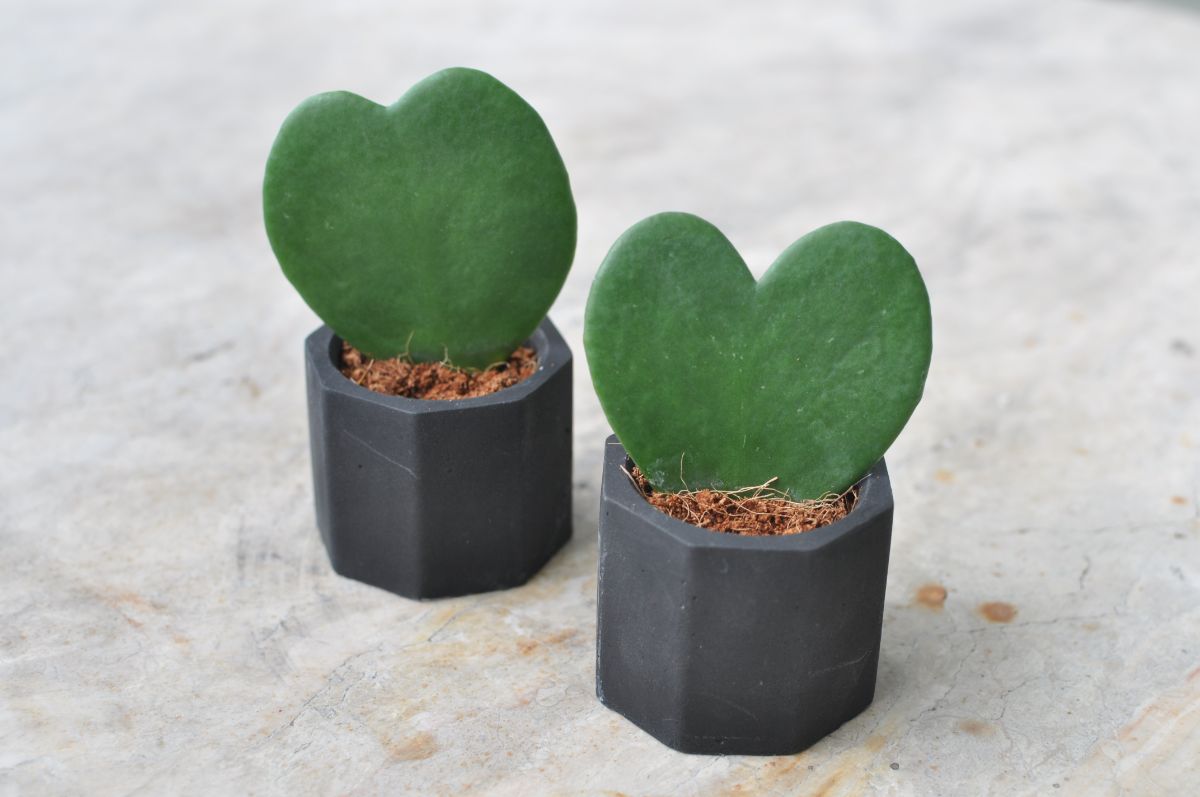
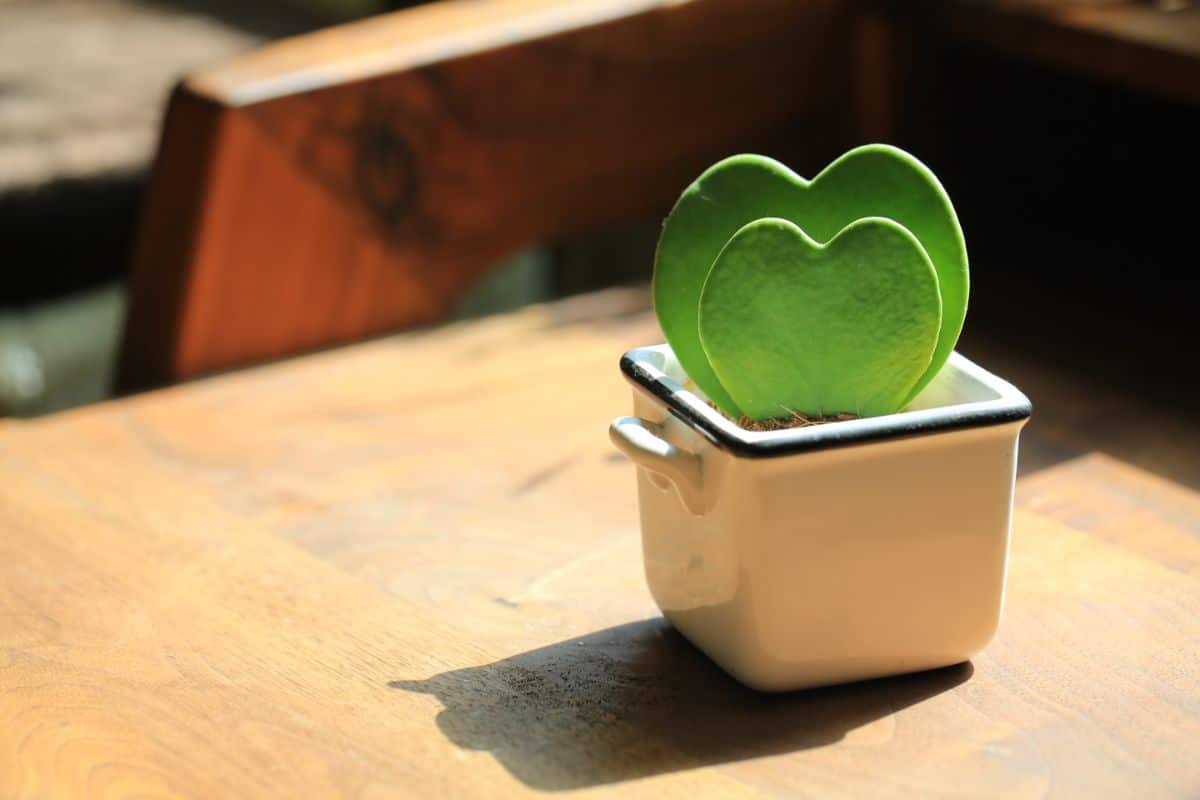
Despite being an amazing Valentine’s gift, the Sweetheart Hoya will not germinate into a full plant as a single leaf.

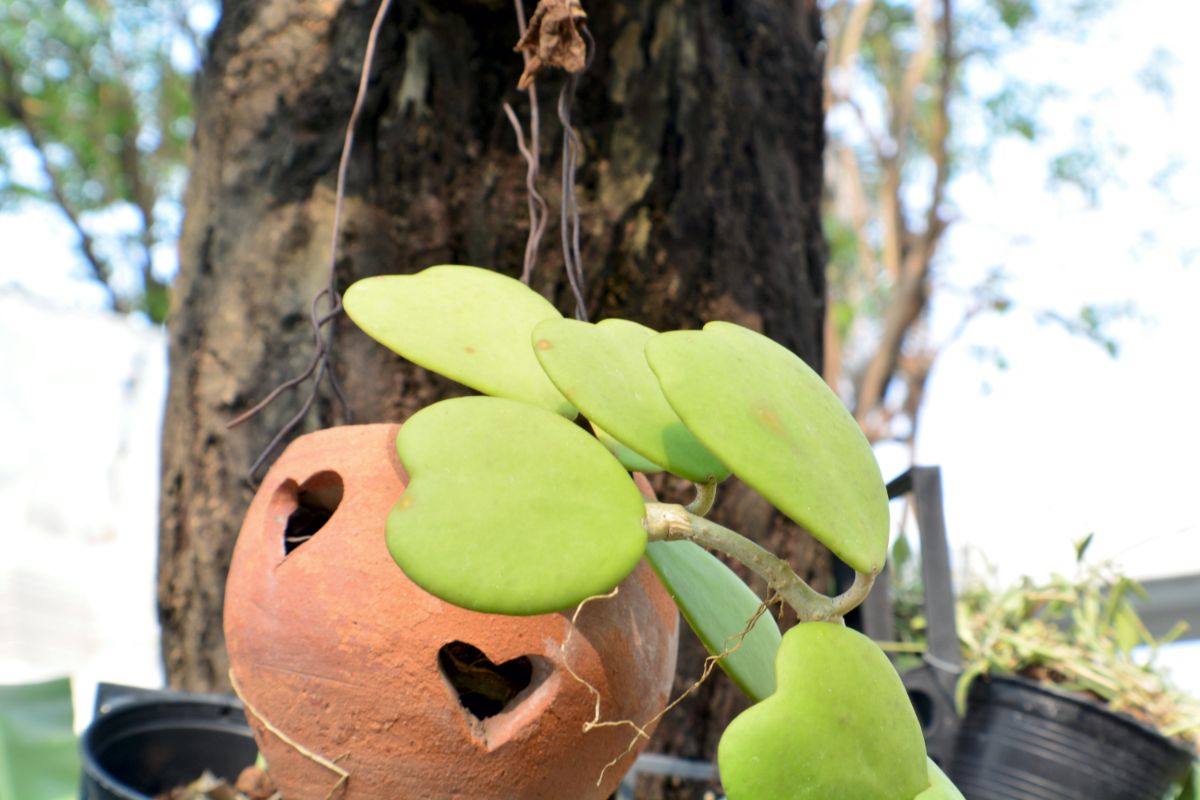
A Hoya Kerrii propagation requires a stem with its cutting to be able to develop new stems and leaves.
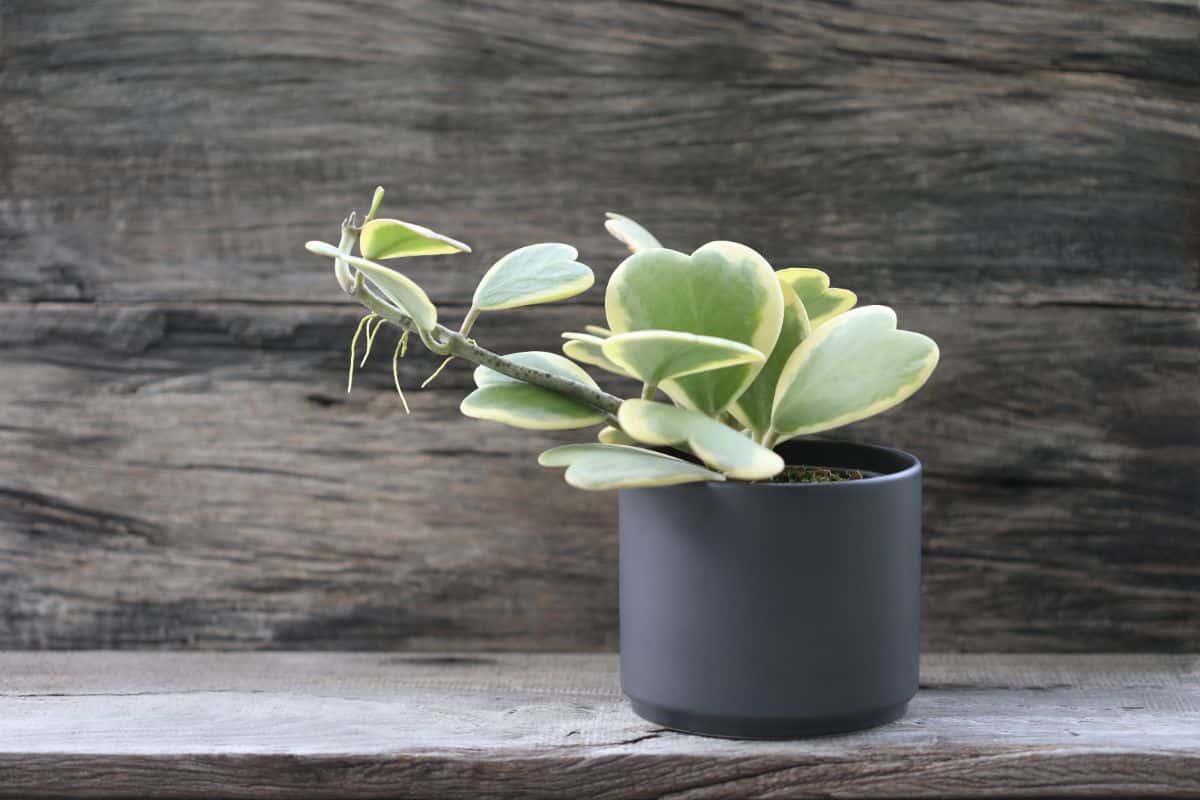
If you require a sweetheart hoya that will thrive and not just be a single leaf, then ensure you buy a hoya kerrii plant having a stem, even if it presently has just a leaf or two in the pot.
You can propagate hoya kerrii in five ways, by Ziploc method, sphagnum moss, passive hydroponics with perlite, water propagation, and potting mix propagation.
Jump to:
Let’s learn more about how to actually do it the right way!
How to Propagate Hoya Kerrii
If you are willing to feel the love and goodness in propagating your hoya kerrii, below, I have outlined five different ways you can propagate the plant.
How to Propagate Hoya Kerrii by Ziploc
This method is likely the most famous method used to propagate hoyas.
You will require a Ziploc bag filled with indoor potting soil about a third of the way.
But first, check to see if the potting soil doesn’t have fungus gnats or pathogens by sterilizing it in hot water.
Allow the soil to drain and cool down afterward, and then ensure it is damp but not overly drenched before filling the Ziploc bag with it.
Place your Hoya kerrii cuttings in the soil.
They don’t have to be correctly planted, so long the stem and the bottom third of the leaf-cutting is enclosed in soil.
Once the cuttings are okay, spray the inside of the bag well enough and then close off the bag.
This will facilitate and sustain humidity in the Ziploc bag, providing it with the greenhouse effect, which will assist in speeding up the growth of roots.
You do not have to open and inspect the bag every day, only put in some more water if the soil appears dry, but then that would be unnecessary if the bag is appropriately sealed.
Place the bag near a bright light source, like by a window facing south or under a grow light.
How to Propagate Hoya Kerrii With Sphagnum Moss
Sphagnum moss is a general medium used for propagating houseplants, particularly for growers.
Sphagnum moss is an inert substance, so unlike typical potting soil, there are fewer chances that it has microbial pathogens.
At the same time, it has and can contain nutrients that are useful for the root growth of plants like the Hoya kerrii.
Before utilizing it for propagation, dampen the sphagnum moss for some minutes.
Using hot water for this will guarantee that there are no fungus gnat eggs or any pathogens in them. Let it cool down before pressing out the water from the sphagnum moss.
Cover the moist but not overly soaked sphagnum moss on every side of the nodes of the hoya kerrii cutting, and then place it in a transparent container like you would when you’re potting up any plant in the soil.
Cover the bottom third of the leaf-cutting to give the plant a proper anchor as it develops roots.
Sprinkle the sphagnum moss generously with water if you see that the top is getting dry. Watering isn’t necessary unless you didn’t remember to sprinkle it with water for a long while, and the sphagnum moss has gone dry.
If you don’t overwater the sphagnum moss, the leaf won’t rot.
So, to ensure, use a container with drainage holes if the transparent container won’t work for you.
How to Propagate Hoya Kerrii by Passive Hydroponics With Perlite
Another way to propagate Hoya Kerrii is with passive hydroponics using perlite.
Hoya kerrii roots are more fragile when likened to most houseplants. They will be able to formulate roots more efficiently in perlite, which is lighter and more delicate than leca or vermiculite and closely resembles the texture of ordinary potting soil.
Nevertheless, unlike typical potting soil, perlite is dormant – so there’s also little to no probability that it has pathogens and fertilizers, which can damage newly formed roots.
Perlite also cannot hold any wetness, so as long as you are not overwatering it, so there’s little to no chance your Hoya Kerrii’s nodes and roots will drown in water as they grow.
To propagate Hoya Kerrii by passive hydroponics, fill your potting container – it’ll be better if it’s a clear container so you can inspect for water levels and root growth efficiently – with perlite.
Pot it like you’re potting up an everyday plant, and do it up to the bottom third of the leaf to provide the Hoya kerrii, proper anchor.
Finally, sprinkle it with water but only up to the bottom third way up.
Perlite is exceptionally light and will float, so ensure to pour water slowly and cautiously. So don’t over-water it so it won’t run off.
Like the sphagnum moss process, sprinkle water on the perlite when they are dry to touch and put some more water if the water level at the bottom third is reduced.
Position your propagation near a radiant light source, like with the first two propagation processes.
Notable roots should grow within the first two weeks to a month, and you can leave them like that for as long as possible before potting them up in an ordinary potting mix.
How to Propagate Hoya Kerrii by Water
Cut off a piece of the vine with a pair of scissors that carries at least one node and a few leaves. Place the cutting in a container of room-temperature water, and ensure that at least one node is under the water because that is where new roots will germinate from.
Ensure the leaves aren’t immersed, though!
Place the jar in an area with radiant, indirect light.
Top off the water as necessary and change it totally when it gets filthy, once a week or so.
When the roots have grown two to three inches long, you can repot the cutting to its permanent pot.
This should be at least after a couple of weeks, if not months, so be patient!
How to Propagate Hoya Kerrii by Potting
Propagating Hoya Kerrii in the potting mix is in line with the same procedure as water propagation.
Cut off a piece of the vine with scissors with at least one node and a few leaves.
Place the cutting in a little pot containing moistened potting mix so that at least one node is covered up since the node is where new roots will grow from.
Ensure the leaves aren’t buried, though. Put the pot in a position with radiant, indirect light.
Ensure the mix is moist as the roots grow. You can also close off the top of the cutting with a plain plastic bag to increase the humidity levels.
In 3 to 4 weeks to months, your root system should have grown adequately, and you can treat it like a normal plant.
As you can’t observe the roots here like you’d be able to in water, you can check it by tugging your plant gently and checking if there is any opposition.
If there is any, those are roots right there!
The Ziploc bag will function as a terrarium. The propagation can remain in sphagnum moss till the roots have begun to grow out of the drainage holes.
For the perlite procedure, when it has grown substantial roots, nutrients will have to be added if you decide to continue to grow it by passive hydroponics.
Final Words
How to propagate Hoya Kerrii can be technical, I won’t lie. Researching to write this in the correct form wasn’t easy, but it was all fulfilling as I’m currently staring at my fully grown Hoya Kerrii.
It was all worth it.
I’m sure it will be the same for you. Happy cultivating!