Propagating your own plant is a wonderful feeling, especially when it is a gorgeous plant like the Philodendron Birkin.
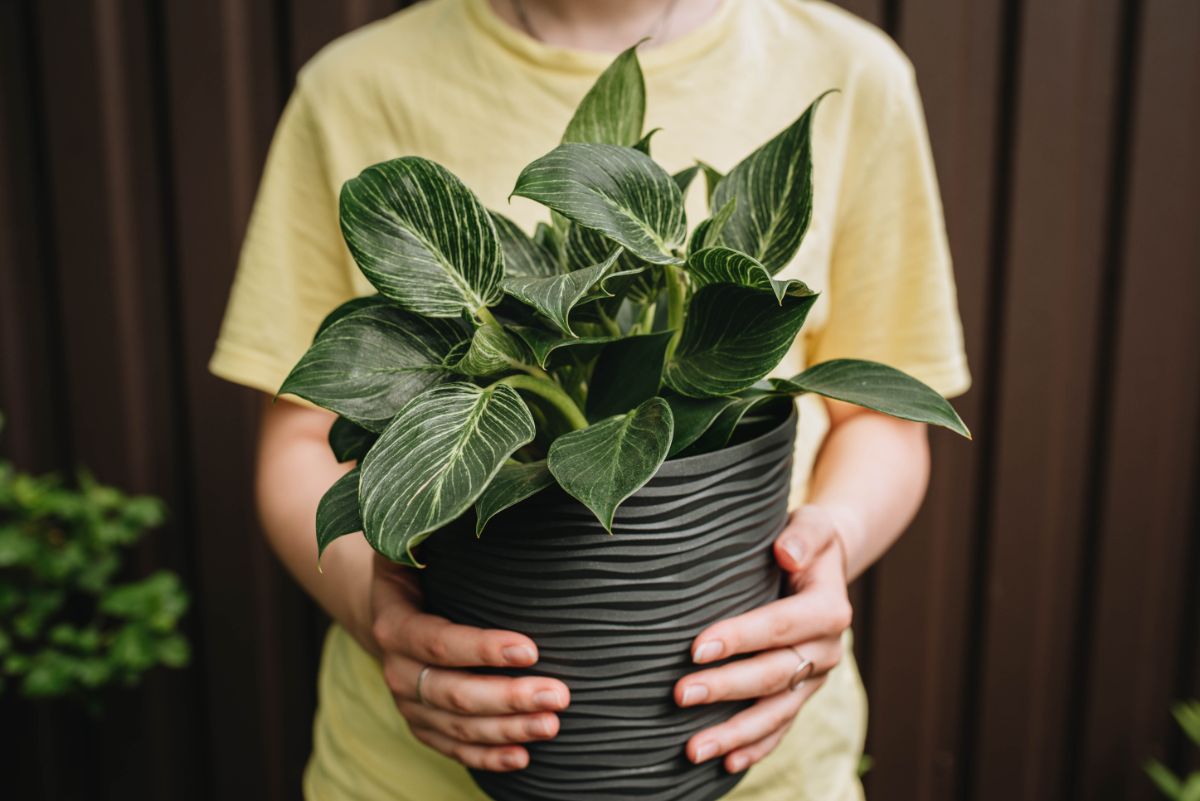
To propagate philodendron birkin, you will have to take a stem cutting with a node of the plant and place it in water so that roots can grow, then transfer it to the soil and let it grow. You could also divide a pup from a mother plant and plant it to mature on its own.
Another way is air layering, allowing aerial roots to develop by dividing the stem and growing the roots from that incision.
In this article, we will be discussing how to propagate philodendron birkin the right way!
Jump to:
How to Propagate Philodendron Birkin
Using stem cutting is the easiest and the most typical method, but I'm sure there are adventurous people out there who love to try new things like me.
Let us check them out.
Propagating Philodendron Birkin From Stem Cutting
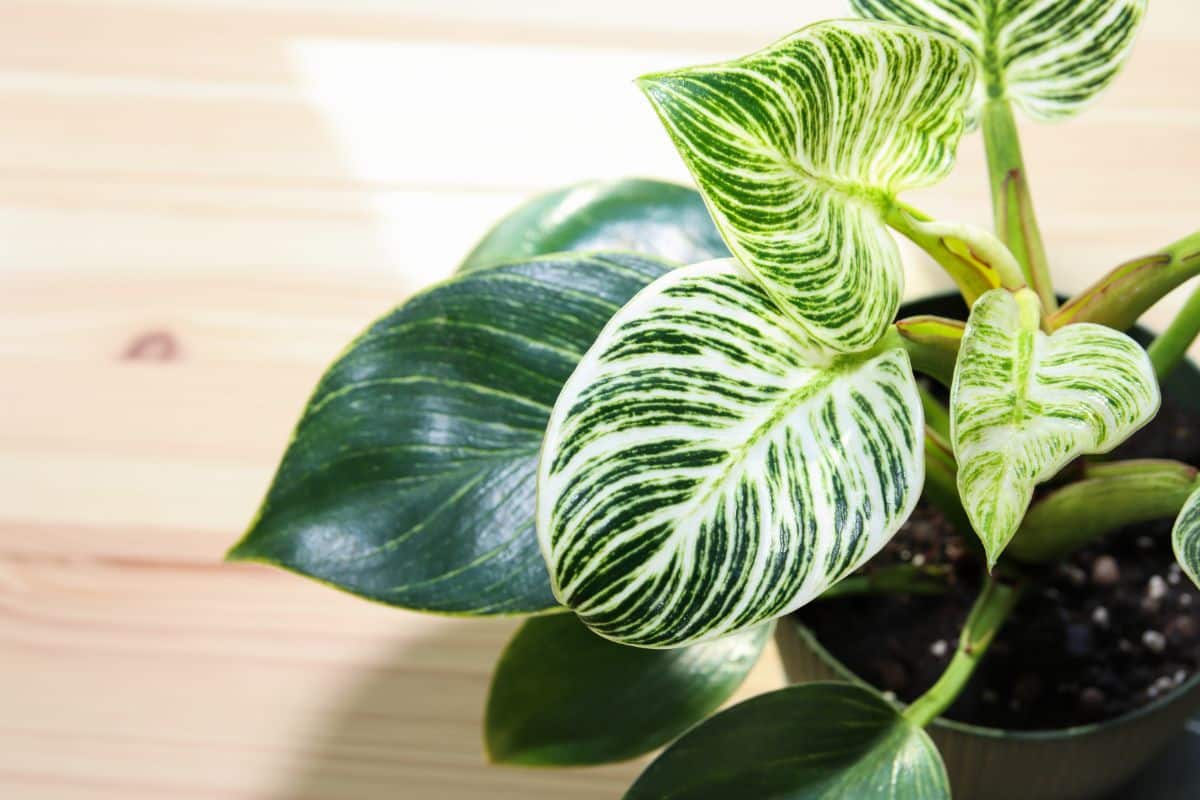
A healthy plant is most important when you wish to propagate any new plant from a cutting, and it is the same situation with propagating philodendron Birkin from a stem cutting.
Leaf cuttings won't work in propagating Philodendron Birkin.
Cut the piece with a sharp knife.
Sterilize the scissors or blade by placing them for 5min in boiling water.
Alternatively, you can sterilize the blade by applying alcohol or by placing the blade in a flame for some seconds while moving and turning the blade back and forth. To do the cutting, select a stem area and mark about an inch (2.5 cm) under the growth node.
Mark another place above a growth node about 10 inches (25 cm) on top of the bottom mark. This only works if you are using a fully developed Philodendron Birkin. The nodes will be near each other, and a younger Philodendron would have less stem to work with.
Cut the stem at the two marks, and ensure it is a neat incision. Cut sideways to expand the surface area of the cutting. That way, you will get two cuttings: the tip cutting and the stem cutting of Philodendron Birkin. Remove the lower leaves of the cutting, ensuring that the growth node is clear.
Place the cutting into clean water in a vase or container. You may have to hold it up by connecting the cover to a wire mesh. Make sure that none of the leaves are in contact with the water. If a leaf is in or touching the water, it will decay.
You could also utilize Sphagnum moss or even soil as a means for growing the Philodendron Birkin cutting. Sphagnum moss functions well if you place dry moss in the water and let it absorb.
Then you carry it in your fist and firmly squeeze the Sphagnum moss. That way, it will be moist but not wet. You can also place your cutting in the soil. Regardless, this procedure is not advised for the beginner as you cannot observe the cutting, and you need to know what goes on in the soil.
After 2-3 weeks, pull the cutting slowly. If there is any difficulty, that's a sign that roots are beginning to form. So, allow the cutting to settle in the water till you can see roots growing, which may be around 2-4 weeks.
At this time, be sure that the water is clean, and replace it every 2-5 days. When the cutting has grown roots at least 2-4 inches long (5-10cm), you can transplant the cutting into the soil.
This is generally when the main roots get extra smaller roots protruding out of the sides of the main roots.
Select a small pot that is adequate for the cutting and fill it up with aroid soil with peat moss, perlite, orchid bark, charcoal, and some potting mix.
Then, take the leaf or cutting out of the water and shake off the extra water carefully. The main roots should be some 2-4 inches long (5-10cm).
Make a hole in the soil around 4 inches deep and 2 inches wide.
Place the cutting carefully in the hole and fill it well.
Don't tamp down the soil, but ensure the plant is standing steady.
Saturate the fresh Philodendron Birkin after 24 hours.
Propagating Philodendron Birkin by Division
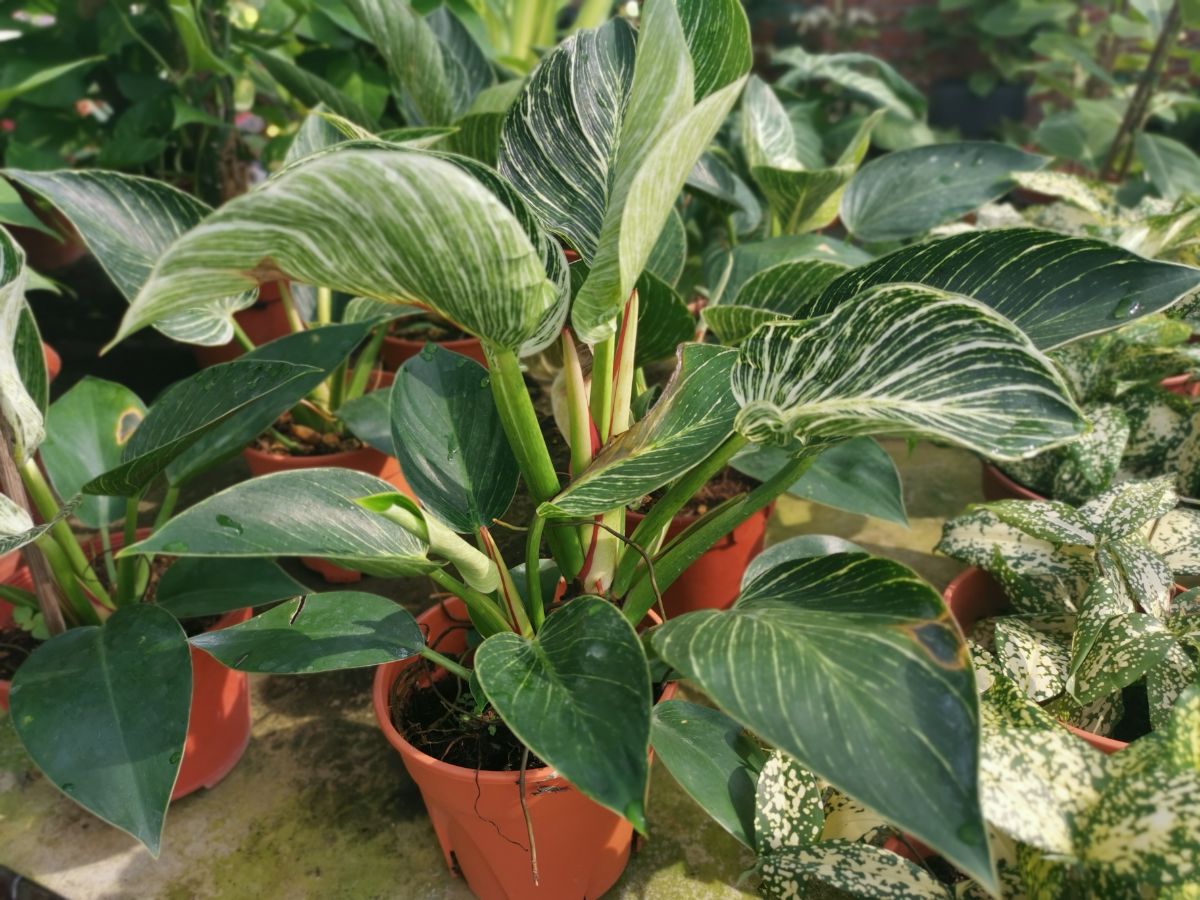
The division method has to do with plants with numerous offshoots.
It's only advisable to choose this Birkin propagation process when your philodendron has lots of offshoots coming out from the same parent plant.
This propagation procedure is as follows.
Look for various areas where there are offshoots, then remove your philodendron from the pot to divide the suitable root systems.
Take the green out and carefully shake the potting blend around the root.
The acceptable way to loosen up the substrate is to use your fingers to detach the roots carefully.
It may be necessary to snip off the weird roots if they don't twist easily, yet you should be able to pull apart the areas without much effort.
Sometimes, you may have to cut off the soil around the green to divide them more quickly and confirm that each section has a robust root system that can assist you in achieving your desired propagation.
When separating those sections, it's better to utilize shears than pull the green apart since this can damage it badly.
Put the parent plant back in the pot.
If the offshoots have lovely, mature roots, they will grow fine in the potting mix.
But if the roots look like they need more time to grow, we recommend placing them in water before the potting mix.
Maintain a periodical care routine.
When your cuttings are settled in the fresh soil mix, you can go on with the usual maintenance routine applied to other Birkins.
If you put them in water first, it's essential to change the water once every few days and change their position to the potting blend once they've developed.
Propagating Philodendron Birkin by Air Layering
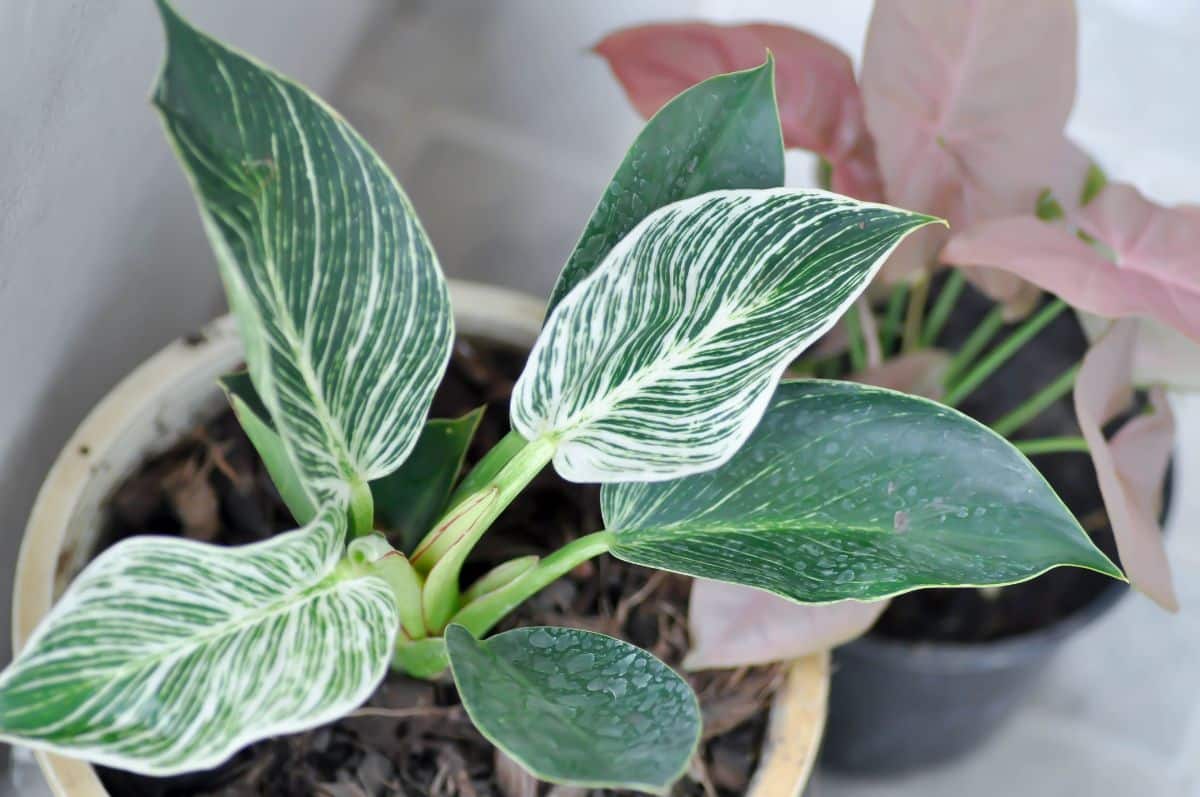
In using this process for propagating a Philodendron Birkin, you'll be making a cut in the stem, so it is significant to use a mature plant with a tangible main stem.
Using a knife, make the incision at the side of the stem.
It should measure around 1 inch (2.5 cm) long and get nearly halfway through the stem.
Put a tiny twig or a toothpick in the incision to keep it open.
Cover the incision with wet moss or sphagnum moss around the stem.
You can utilize a plastic cup to have the peat moss in position.
Slice the cup in half along one side and put a hole in the bottom that will fit closely around the stem.
Position the cup around the stem under the peat moss or Sphagnum Moss.
Let the plant be for 3-4 weeks, but keep observing till you see roots germinating out of the peat moss.
Take off the cup and moss and slice off the new plant. It can be grown in a pot.
Ensure the roots are closed off. Maintain the soil moisture for some weeks.
Frequently Asked Questions
How easy is it to propagate Philodendron Birkin from a cutting?
It is pretty easy to propagate Philodendron Birkin from a cutting, so long as you carefully adhere to all the guidelines.
Is propagating Philodendron Birkin and growing it from seed the same?
No, it is not. Growing a plant from seed literally means sowing them in the ground, or retaining them in damp cotton, till they grow. Propagating a plant means developing a new plant from an already existing adult plant.
Final Words
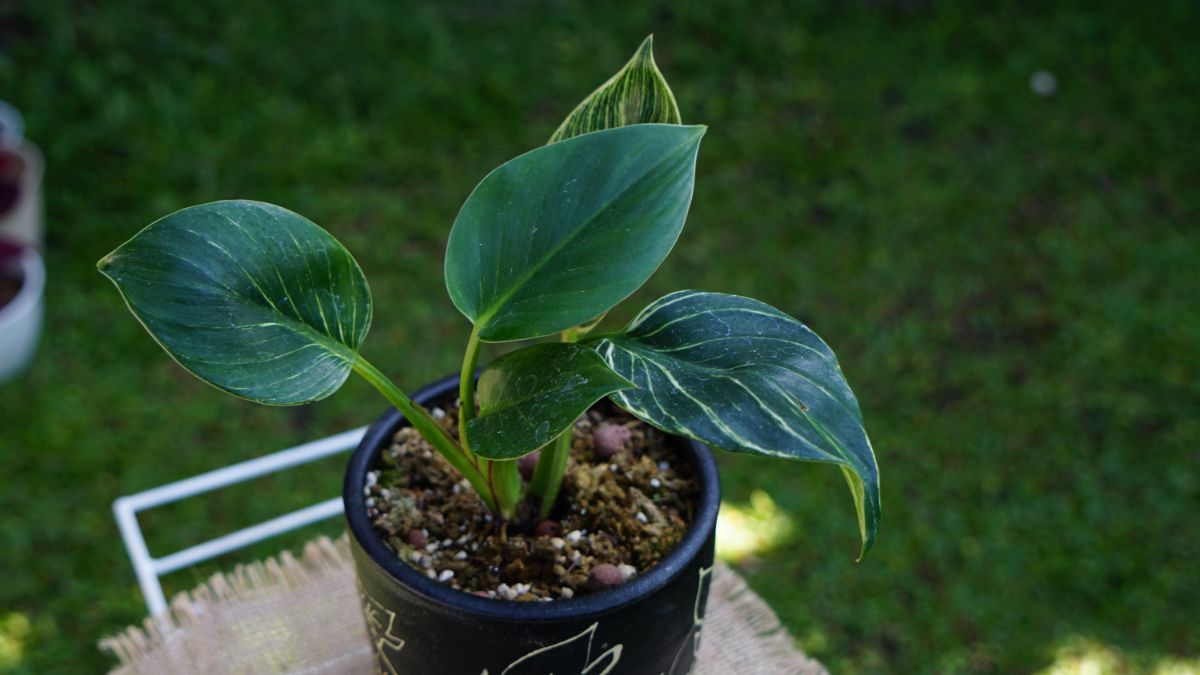
Propagating a Philodendron Birkin from a cutting, by division, or through air layering is a very pleasing venture and implies that you will get a new plant quickly.
So long as you take the needed time and heed all the steps for the process you decide, you should be able to successfully propagate the Philodendron Birkin.
How to propagate a Philodendron Birkin can't be better explained anywhere else.


