No one can deny how charming a spider plant is, especially when arching stems of spiderettes surround it. Firstly, the plant produces small white flowers at the tips of leafless stems.
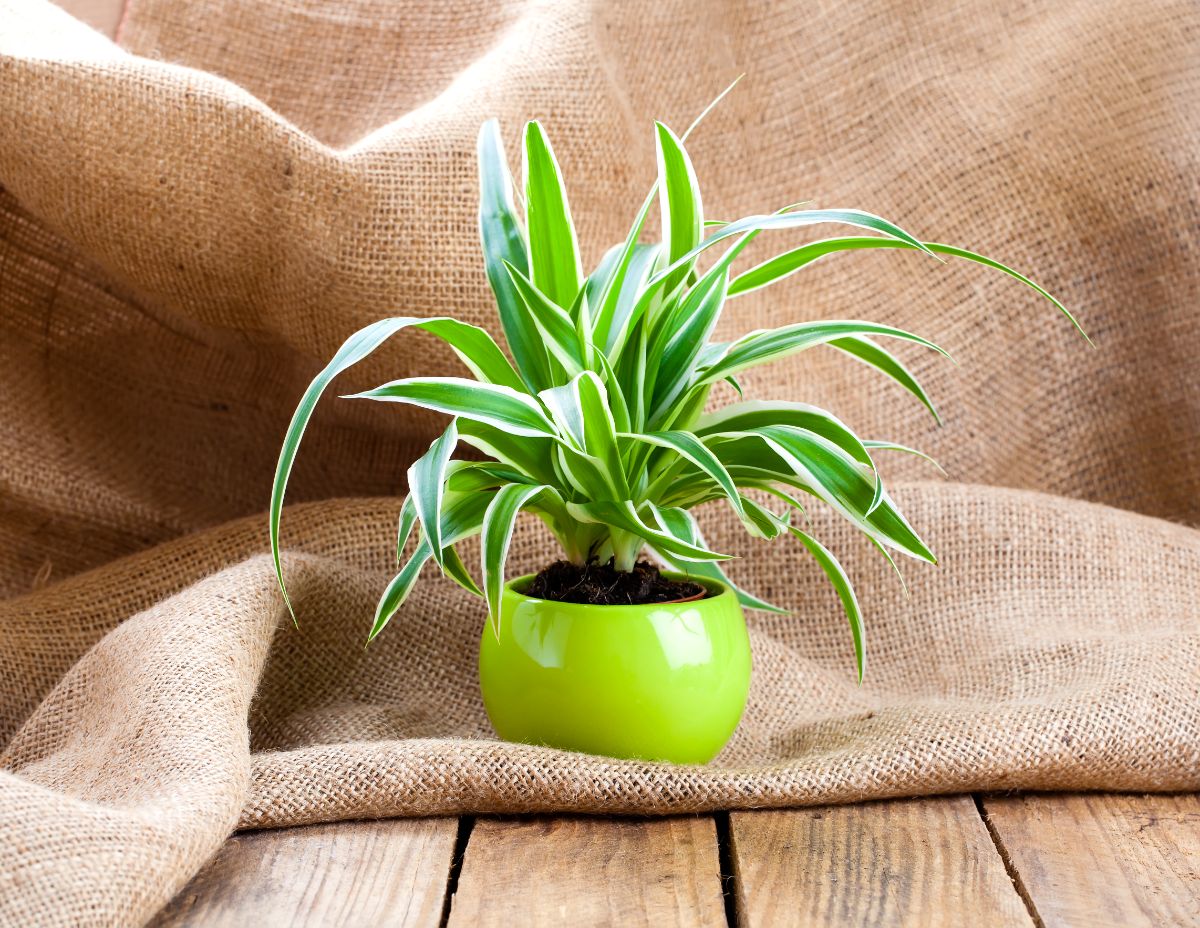
When the stem grows, it arches outward and replaces the blooms with baby plants, with each stem holding many spiderettes that might even produce their babies.
However, most people find the propagation of spiderettes challenging, but there’s no need to be, as it is relatively easy. If you want to propagate a pothos plant but are confused about where to start, there are three methods of spider plant propagation.
You can follow our guide below to learn and understand how to propagate spiderettes easily.
Jump to:
What Are Spiderettes?
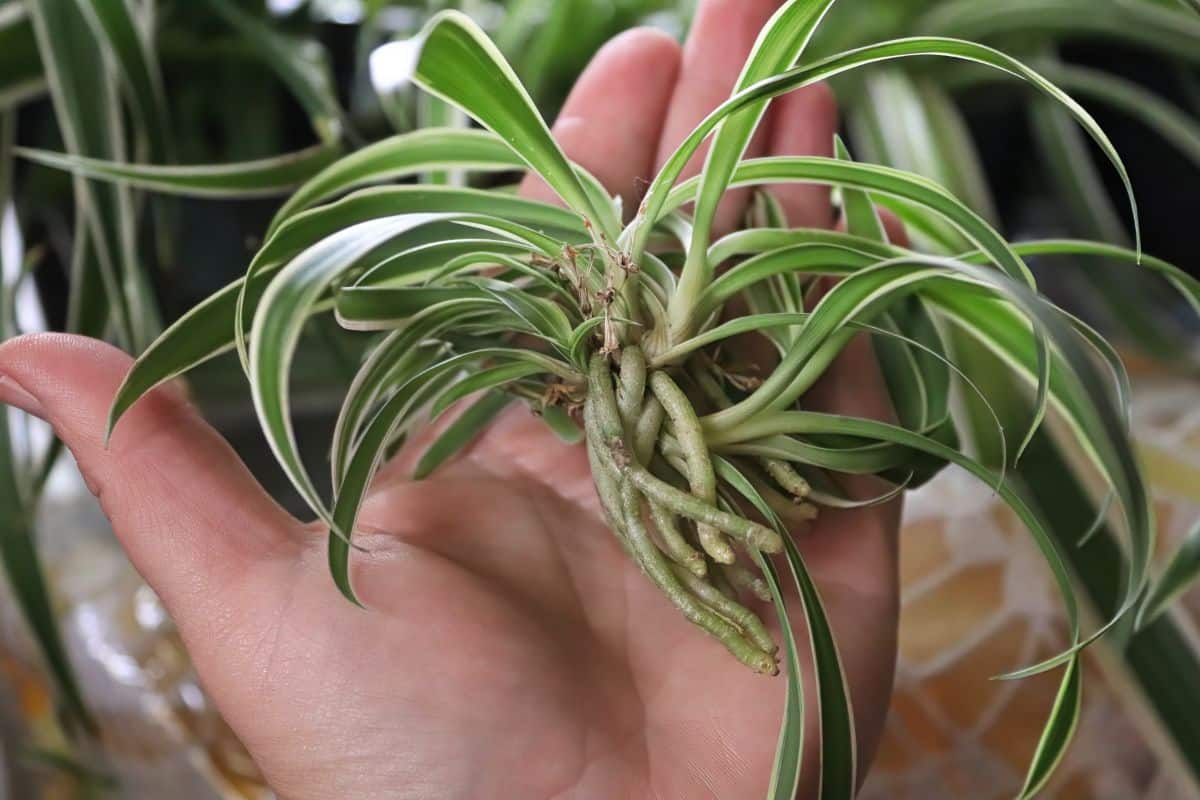
When we say spiderettes, you should not confuse it with the insect spider; we are talking about a different sort of spider connected to a plant. Spiderettes are offsets or plant babies, which grow from spider plants, and you can propagate them into new houseplants.
Scientifically called Chlorophytum comosum, the spider plant is surrounded by arching stems of small baby spider plants. Different stages occur before a new spider plant is formed.
As we mentioned earlier, it is easy to grow spiderettes from offsets and requires three methods, which we will discuss in this article.
How to Propagate Spiderettes
If you don’t expose spider plants to shorter days during fall and winter, they will hardly produce spiderettes. You can help its course by exposing them to natural light cycles by keeping them in a room that lacks light at night. You can also move them outdoors for three weeks during fall to help them produce.
However, keeping the spider plants from temperatures on the wrong side of 55 degrees Fahrenheit would be best. Spider plants like to be a little pot-bound and may fail to reproduce if you put them in a pot that is too large. Again, minimize fertilizing routine during the fall and winter.
There are three common and easy methods of propagating spiderettes: water, soil, and paper towel. Check out the three common ways to propagate spiderettes below;
Propagation in Water
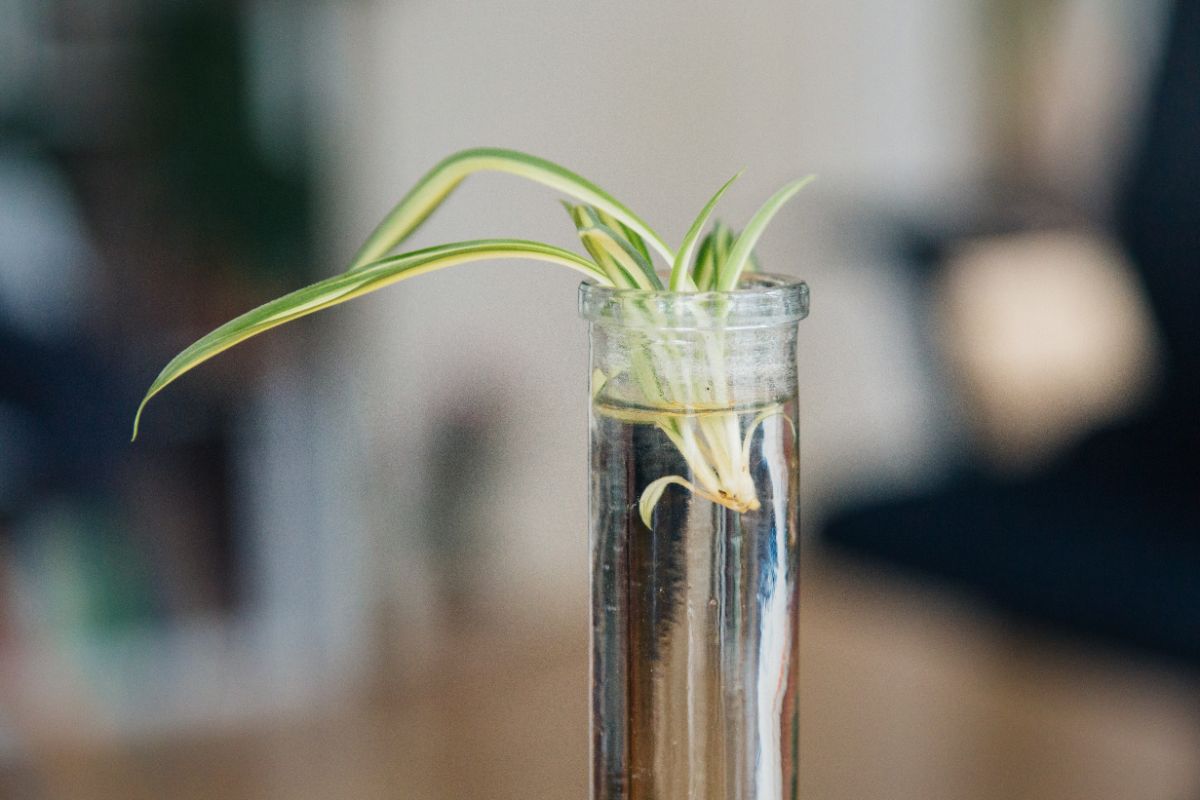
Water propagation of spiderettes is one of the easiest and most common methods. This method is perfect for those that want to remove the spiderette before the roots start forming. The steps below are required to propagate baby spider plants in water;
1. First, insert the root section (a small extension on the spiderette) in a water-filled pot.
2. Don’t allow the leaves to come in contact with the water; in case they are, consider repositioning the baby spider plant or putting it in a smaller pot that will prevent the leaves from touching the water.
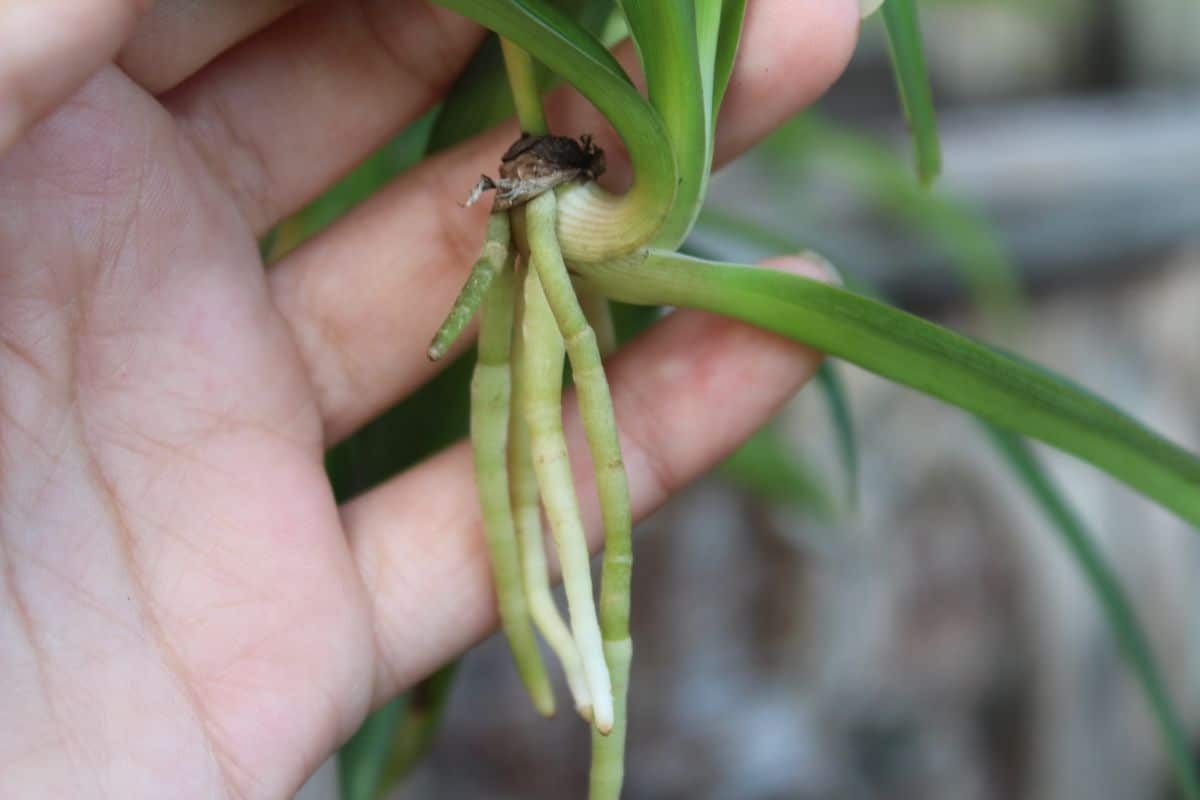
3. In a few weeks, you will start seeing the roots. Immediately after the roots are established, it is time to relocate them to the soil.
Propagation in Soil
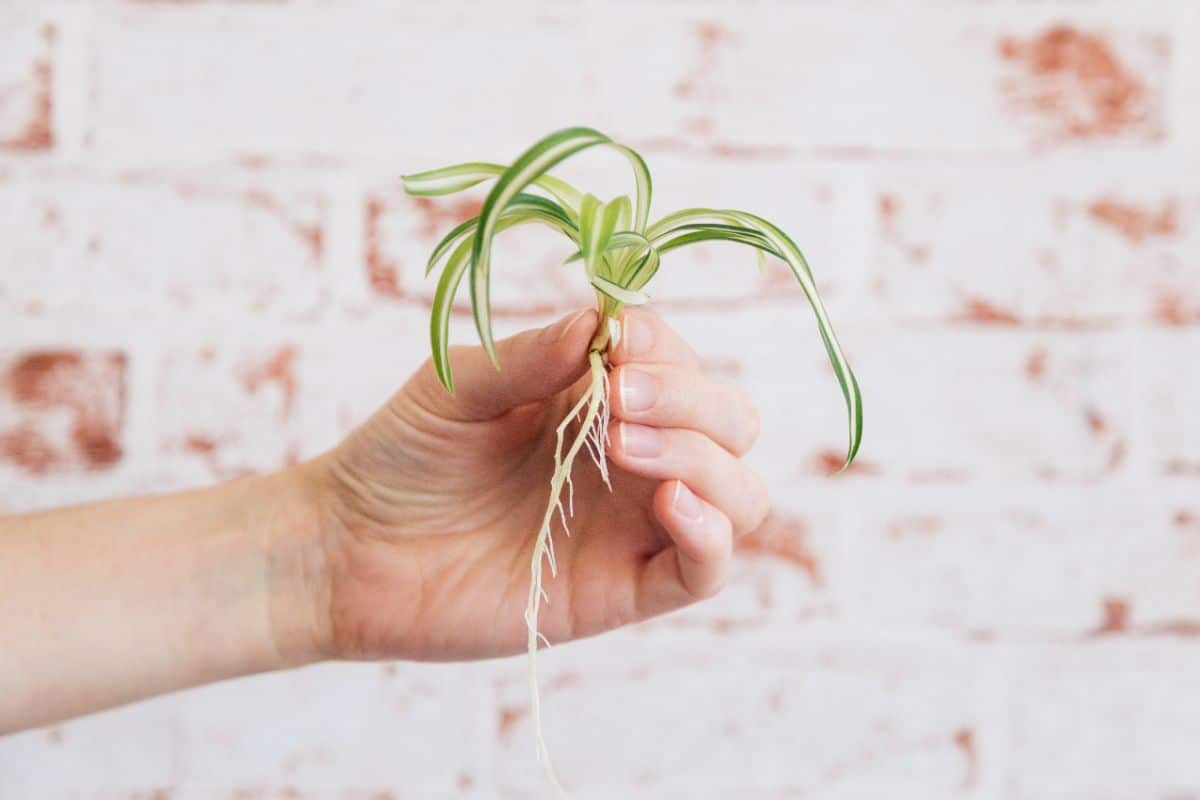
If the spiderette already possesses a rooting system, you can begin your propagation in the soil. It will make your reproduction processes easier. Below are the steps required to propagate spiderettes in soil;
1. Remove the plants from the flowering stem and insert the new plant's roots deep into the moist soil in a well-drained container.
2. Inspect very well to see if the roots are properly covered in soil. Water the plant often and ensure you keep it in a bright spot. After doing so, you should be expecting new growth within a few weeks.
3. Suppose you are encountering problems with the baby spider plants taking root; you can grow them in a similar container as the mother plant.
4. Allow the spiderette to keep attaching to the mother until the new plant is strong enough to survive.
Propagation on Water Towels
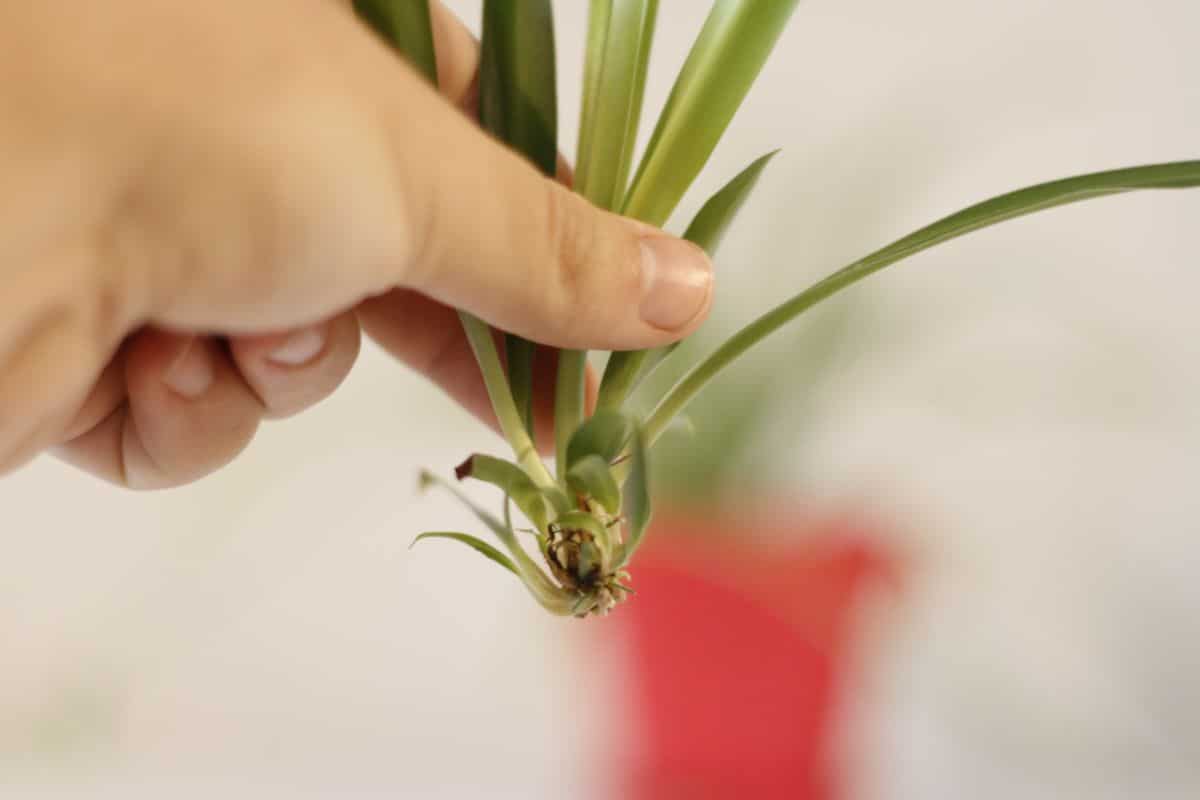
Water towels are the third and final most common method of propagating spiderettes. The following are the steps you should take to propagate baby spider plants;
1. Locate a node on the plant and cut it under the node.
2. Find a bowl or plate and place a damp paper towel on it.
3. Put your cutting on the damp paper towel
4. Ensure the damp paper towel stays moist by wetting it regularly using a water sprinkler.
5. Give it some time, and the roots begin to sprout.
How to Nurture Spiderettes
Immediately after cutting a spiderette from its parent plant, it has to rely on its small roots for support. In other words, it would be best to allow the surface of the soil to stay moist by misting it regularly.
Then, feed the baby spider plants every two weeks using half-strength liquid houseplant fertilizer. Please wait till the fall or winter before resuming its feeding every once a month.
Common Spider Plants Potential Problems
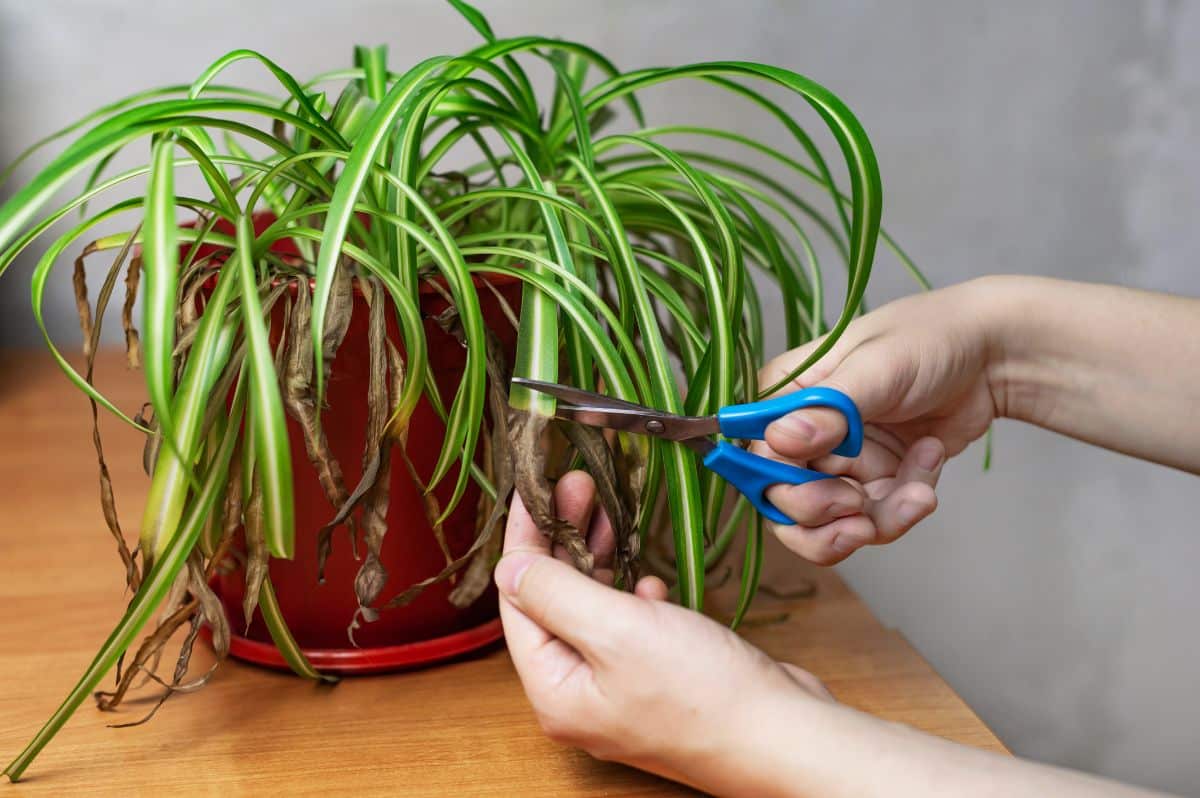
Like several other plants, certain problems bother Spider plants, especially when you don’t give them the proper care they should. Below are some of the most common problems of baby spider plants;
Brown Leaf Tips
Spider plants’ leaf tips change to brown because of excess fertilizer salts and chemicals like fluoride in the water.
Remedy: By flushing the soil with rainwater or distilled water, it will eliminate the chemicals to a great extent. You can also solve this problem by using sharp scissors to prune off the brown tips carefully to avoid damaging the plant.
Scale Insects
Another common problem that disturbs spider plants are scale insects. They take the form of brown or tan discs on the leaves; if you don’t control them, they can damage the leaves and plants.
Remedy: Find insects and pick them off using your fingernails. Ensure the infested plant is isolated from other houseplants until you have solved the problem to prevent the insects from attacking them too.
Conclusion
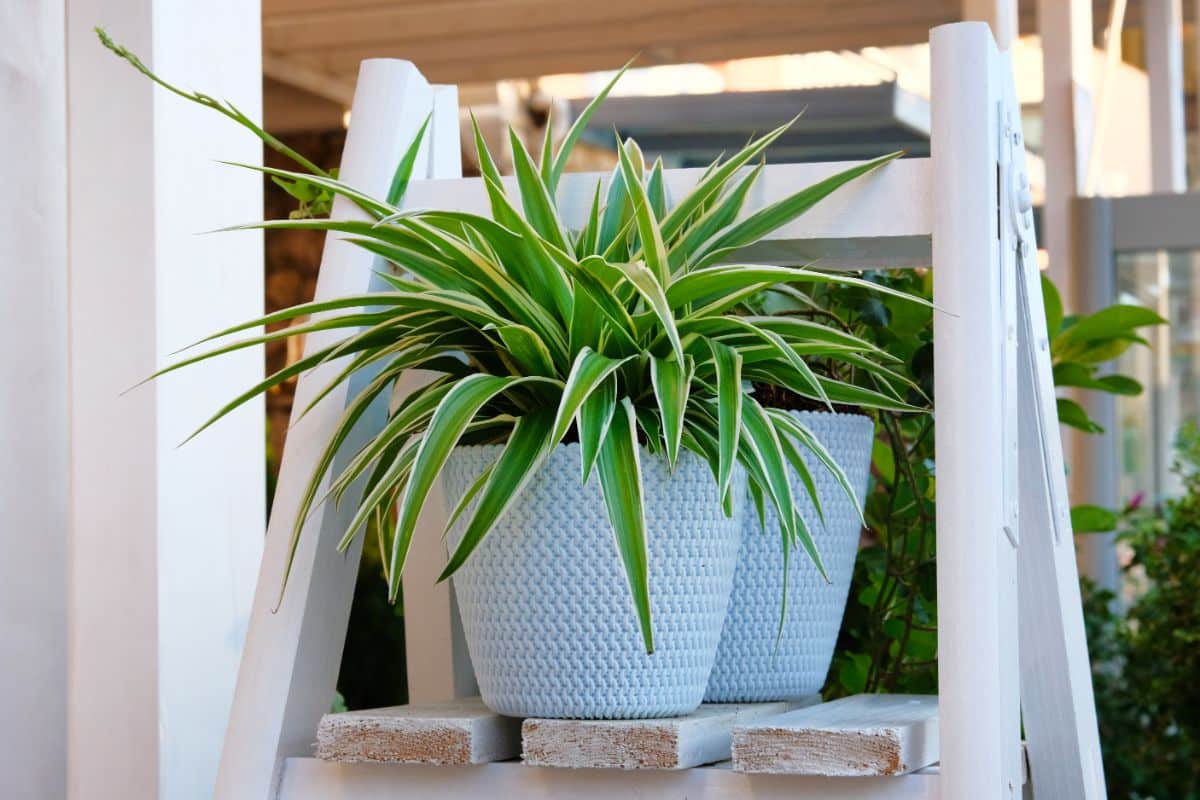
Spider plants are beautiful plants that every gardener or enthusiast enjoys adding to their collections, which is why they desire more. And the best way to do so is by reproducing them from their parent plants.
However, propagating these spiderettes requires the best method and proper care, and with the steps above, you’ll be sure of acquiring more beautiful spider plants than you have ever imagined. Happy Gardening!!!


